Introduction
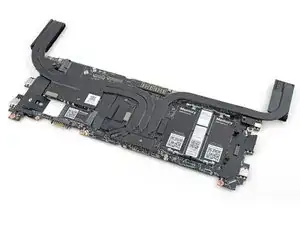
Use this guide to replace the mainboard, along with the heatsink, in your Framework 16" laptop.
Note: the laptop used in this guide is a generic setup of one US keyboard, one numpad module, and two touchpad spacers. Your setup might vary, but the procedure should remain the same.


-
-
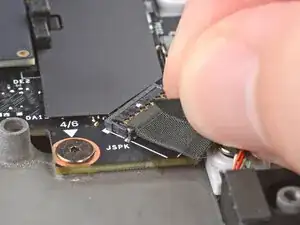
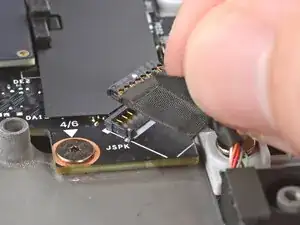
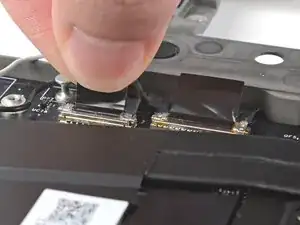
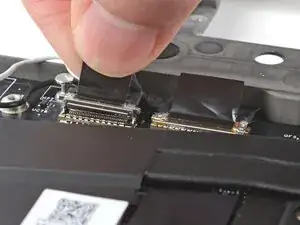
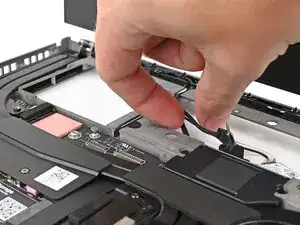
Grip the webcam cable connector to the right of the Wi-Fi module slot by its pull tab and lift up to disconnect it.
-
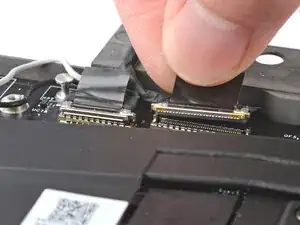
Repeat for the display cable connector next to it.
-
-
-
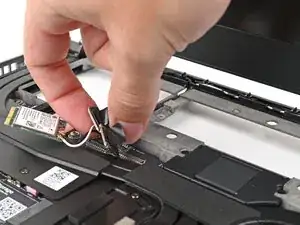
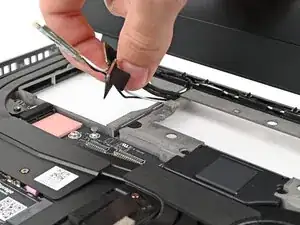
Lift the display, webcam, and Wi-Fi module cables out of their slot in the frame enough to give room for the Mainboard to lift straight up.
-
-
-
Lift up the interposer door to reveal the screw underneath.
-
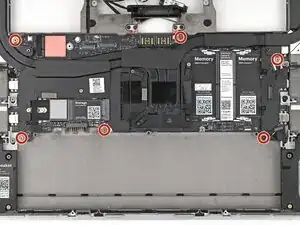
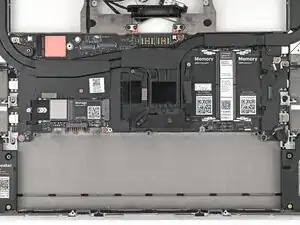
Use your Framework Screwdriver to remove the six 2.0 mm‑long T5 Torx screws securing the Mainboard.
-
-
-
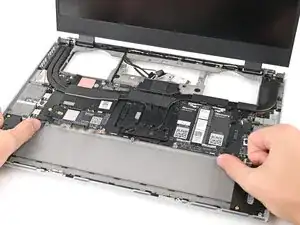
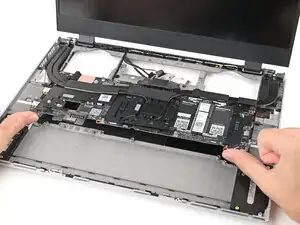
Use your fingers to lift the bottom edge of the Mainboard enough to grip its edges.
-
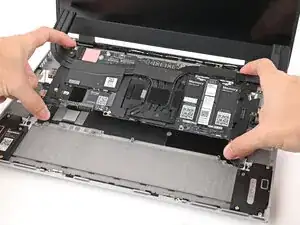
Lift the Mainboard off its alignment pegs and remove it.
-
To reassemble your device, follow these instructions in reverse order.
Take your e-waste to an R2 or e-Stewards certified recycler.
Repair didn’t go as planned? Try some basic troubleshooting, or ask our Answers Community for help.