Introduction
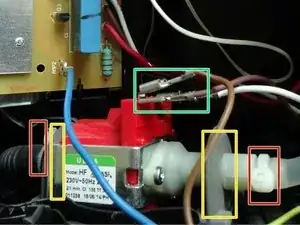
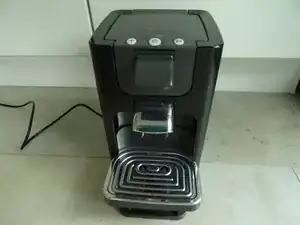
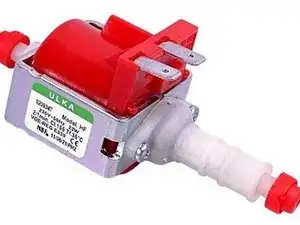
If the pump does not work, a replacement may help. This is shown here.


-
-
Turn the device so that the rear of the machine is facing you.
-
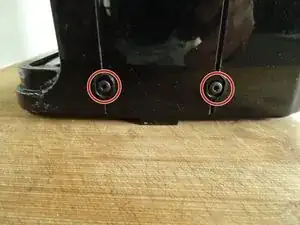
Remove the two Torx T15 screws at the bottom on the machine.
-
-
-
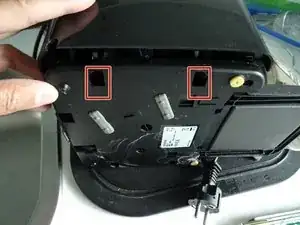
The side panel must first be detached at the bottom edge. Turn the machine so that the bottom is facing towards you.
-
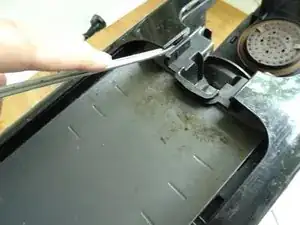
There are two indentations on the base plate with catches inside each one. Press in the catches with a screwdriver and detach the side panel at the bottom edge.
-
Chances are the plate will get stuck. It is recommended that you use a plastic pry tool to avoid scratching.
-
-
-
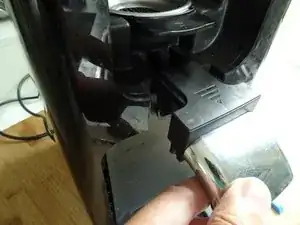
At this point, the side panel is still snapped into place on the front, right next to the coffee spout. You can use a screwdriver to carefully pry the latch open.
-
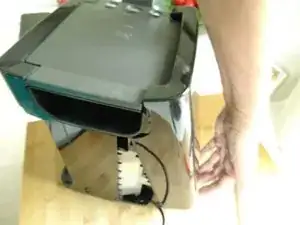
On the inside of the side panel there are two pegs on the top edge that fit in the holes. Lift the side panel up and out.
-
-
-
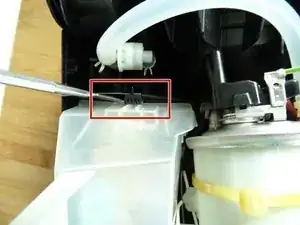
User a screwdriver to release the catch at the top of the electronics cover.
-
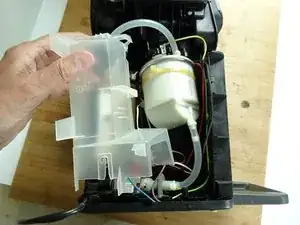
Lift out the cover.
-
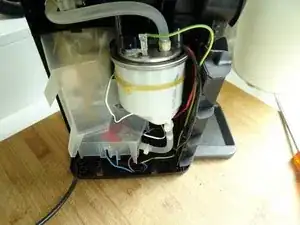
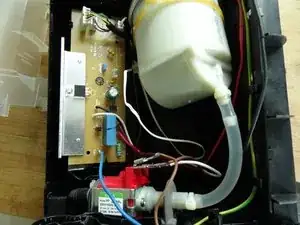
Both the electronics and the pump will be visible once the cover is removed.
-
Work through the steps in reverse order to reassemble your device.
Note: Do not forget to replace the cut cable ties with new ones.
One comment
C'est sympa vôtre tuto , merci à vous mais je pense que je vais laisser ceci à un pro , enfin tout dépendra de la note car désormais on ne trouve plus ce modèle mais la Maestro et c'est bien dommage pour une pompe car le réservoir latéral était bien pratique , nul besoin de bouger l'ensemble
Bien à vous et merci encore