Introduction
Here's how to replace a broken key:
- Take the keyboard apart until you get to the circuit board.
- Use a soldering iron and desoldering pump to remove the three solder joints on the broken key.
- Solder the new key to the three points.
- Reassemble the keyboard.
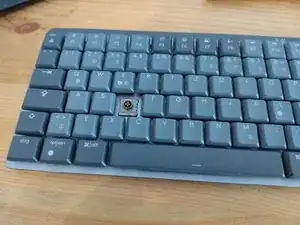
If you don't want to buy a replacement key or it is no longer available, you can also replace the defective key with another key on the keyboard. In my case, I replaced the defective D key with the unused “Search” key (above the number pad).
Since the solder joints are nice and large, even as a complete beginner at soldering, I was able to replace the keys. However, the solder joints did get a little hotter than they should have.


-
-
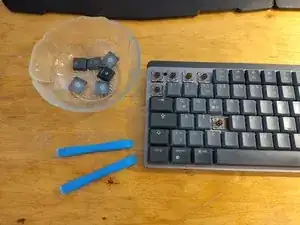
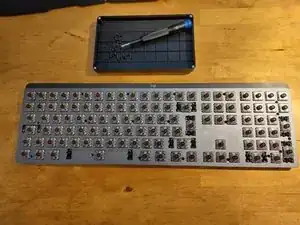
Use a keycap remover tool / opening tool or your hands to remove all keycaps.
-
Make a few photos of your keybord layout to have a reference for reassembly later on.
-
If your keybord is dirty use a soft brush to clean it.
-
-
-
Remove 20x black screws with a Philips size 0 screwdriver.
-
Don't loose the screws, put them in a bin or similar.
-
-
-
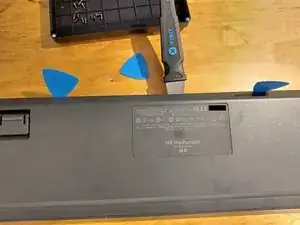
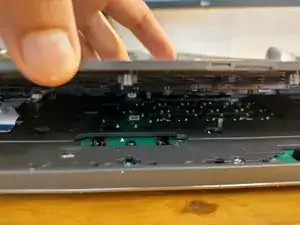
The back cover is held in place by small plastic tabs.
-
Flip the keyboard on its front.
-
There is a small slid between the back cover and the body. Insert a thin plastic opening pick at the top of the keyboard.
-
Use something sturdy, like a metal spudger to release the plastic tabs all around.
-
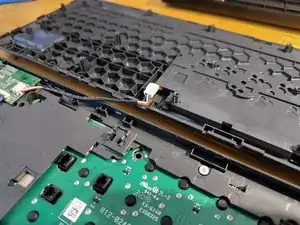
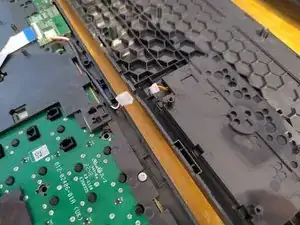
There is a cable comming from the battery and connecting the plastic cover and the keyboard front. The connecter is clipped into the plastic frame above the PCV and can be unclipped using some tweezers or spudger.
-
-
-
Disconnect controller from battery.
-
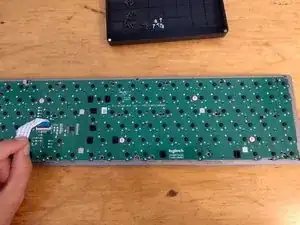
Disconnect ribbon cable from controller.
-
The plastic frame above the PCB is connected via screws. Unscrew 6x silver screws using a size 2 philips screwdriver.
-
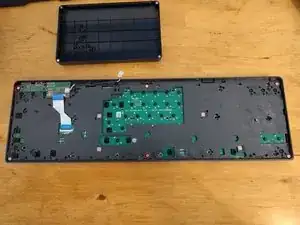
Remove the black plastic frame covering the PCB.
-
-
-
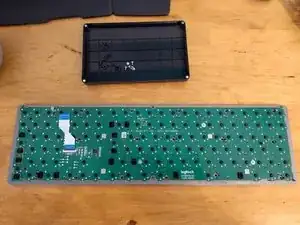
There are 4 capped screws (silver) fixing the PCB to the metal part of the keyboard. One hides under the ribon cable.
-
Removing the switches isn't covered by this guide.
-
The switches for this model are Kailh Choc V2 Low Profile Switches.
-
-
-
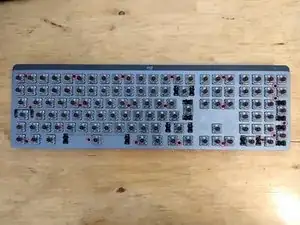
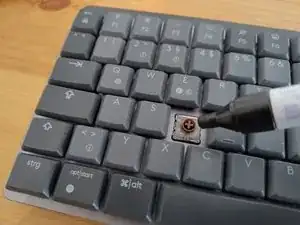
To avoid confusion later, mark the defective key. In this case, the “D” key is defective and is marked with a felt-tip pen.
-
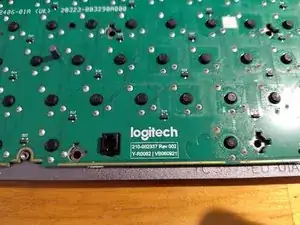
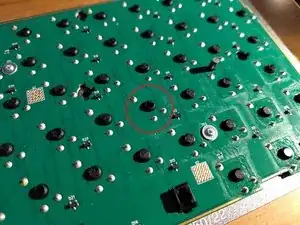
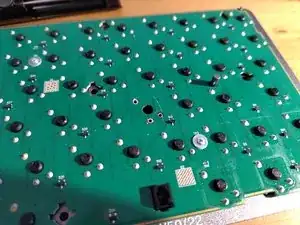
Locate and mark the back of the defective key. Each key is connected to the circuit board at three solder points. The black pin is only inserted and not connected to the circuit board.
-
-
-
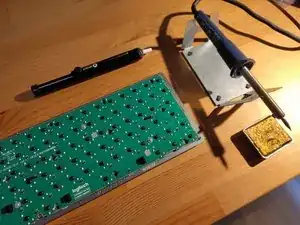
Desolder the three solder joints on the button you marked earlier:
-
Heat the pin until all the existing solder is liquid.
-
Add some fresh solder.
-
Remove the liquid solder with a desoldering pump.
-
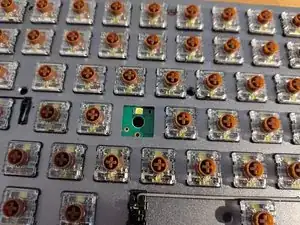
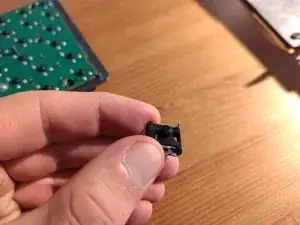
After desoldering, you can push the button out from the front.
-
-
-
Insert the replacement key into the gap in the circuit board. It only fits into the gap one way.
-
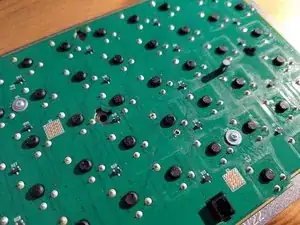
Re-solder the three solder joints.
-
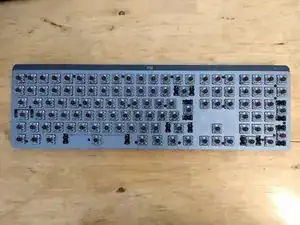
To reassemble your device, follow the relevant steps in the instructions in reverse order.
Before replacing all the key caps, test the function of the new key.

3 comments
Thank you! This was very helpful. rrh
rrh -
The c-key has had an intermittent problem on my Logitech MX Mechanical Wireless (tactile) and outstanding guide will give me the confidence to give repairing it a go, saving waste and money.
Thank you
Jack -
Thank you ! I just swapped a damaged key with less used healthy key by following this guide. Saved me from an ongoing frustration and money.
P V -