Introduction
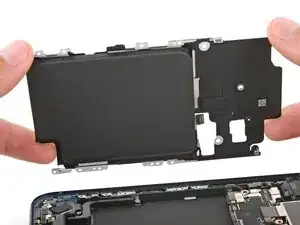
Follow this guide to replace a dead or worn‑out battery in an iPhone 17 Pro Max.
iPhone batteries are rated to hold 80% of their capacity for up to 1000 charge cycles. If your iPhone needs to be charged more often or runs slower, it might be time to replace the battery.
After replacement, battery metrics may be disabled until you run Apple’s Repair Assistant. As of iOS 26, battery health works with both genuine and aftermarket replacement batteries.
Note: You'll need replacement screen adhesive to complete this repair.


-
-
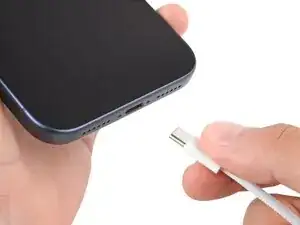
Unplug all cables from your phone.
-
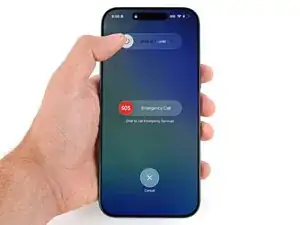
Hold the power and either volume button and slide to power off your phone.
-
-
-
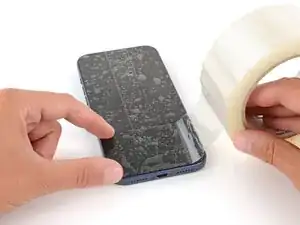
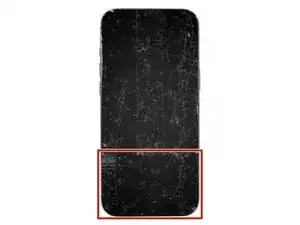
Apply strips of packing tape to the cracked glass until it's completely covered—this will help keep the glass contained and allow the suction cup to stick.
-
Make sure there's a single strip of tape (not overlapping) across the bottom edge, big enough for a suction cup to fit on.
-
-
-
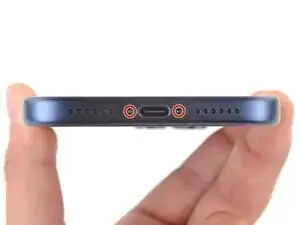
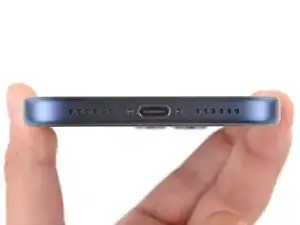
Use a P2 pentalobe screwdriver to remove the two 7.5 mm‑long screws on either side of the charging port.
-
-
-
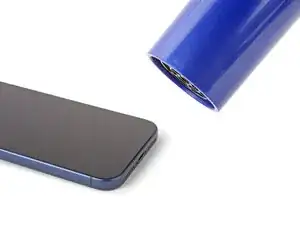
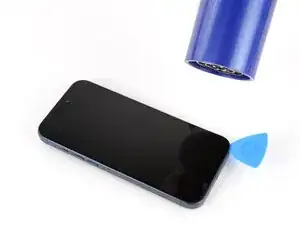
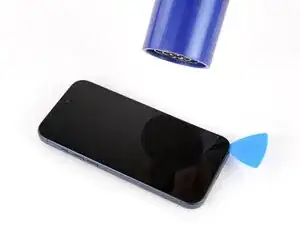
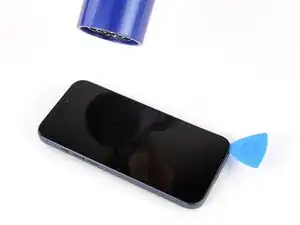
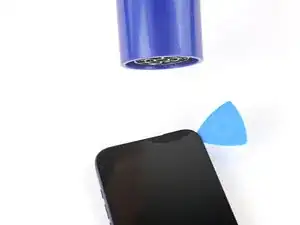
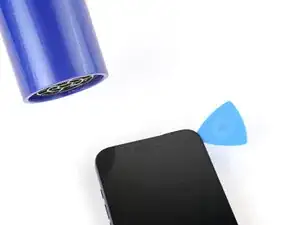
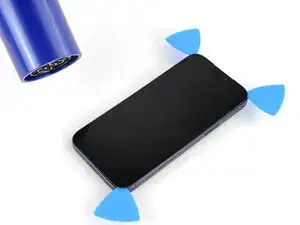
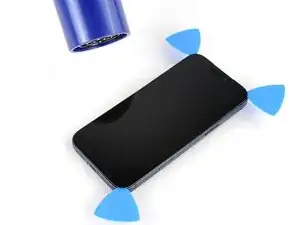
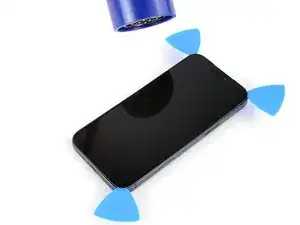
Use a hair dryer or heat gun to heat the bottom edge of the screen until it's slightly too hot to touch.
-
-
-
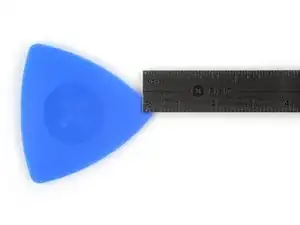
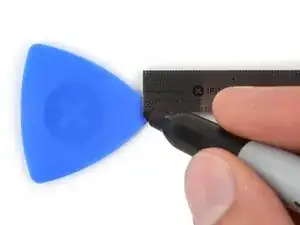
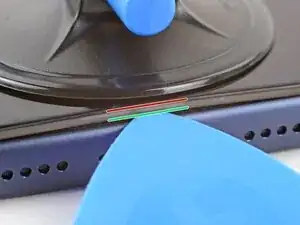
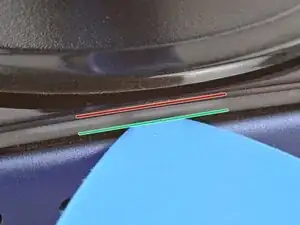
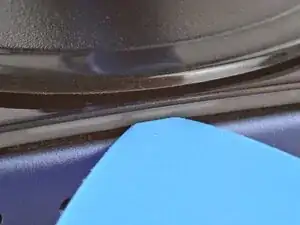
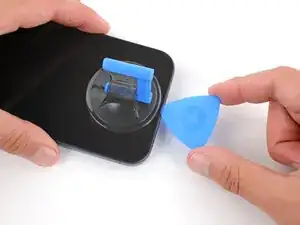
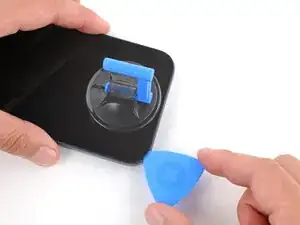
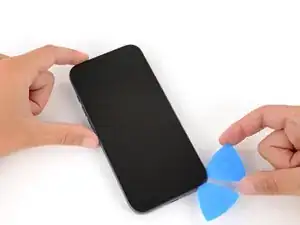
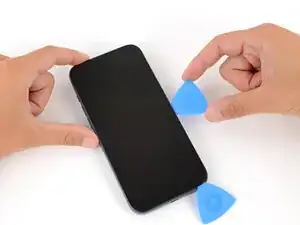
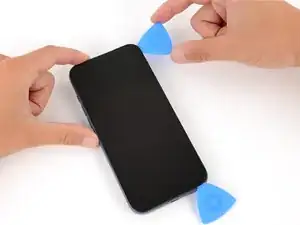
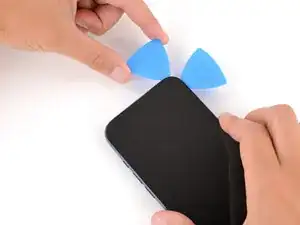
There's a plastic bezel on the underside of the screen that sits on the frame. Insert your pick here, making sure it's completely under the bezel.
-
There's a seam between the plastic bezel and the display panel. Don't insert your pick here or you'll separate the two, complicating the repair.
-
-
-
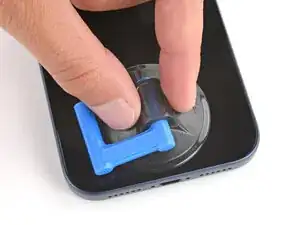
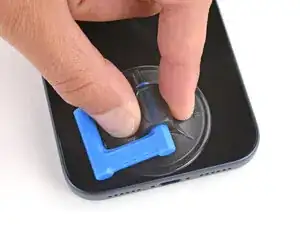
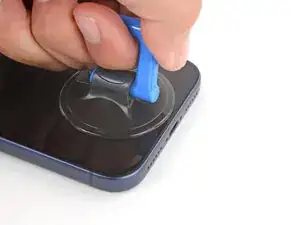
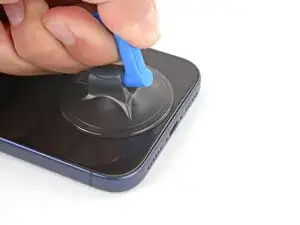
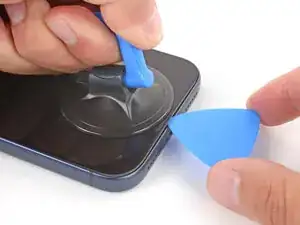
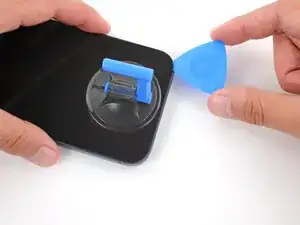
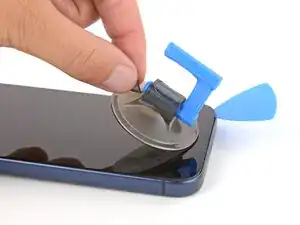
Pull up on the suction handle with strong, steady force until a gap forms between the screen and frame.
-
Insert the tip of an opening pick in the gap you just created.
-
-
-
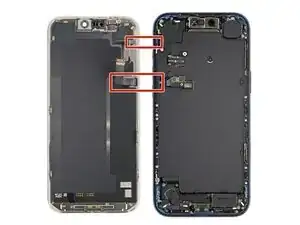
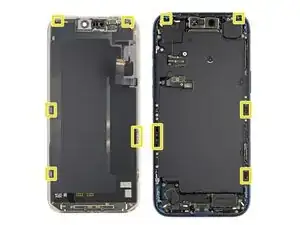
The screen and ambient light sensor cables are located near the volume and Action buttons.
-
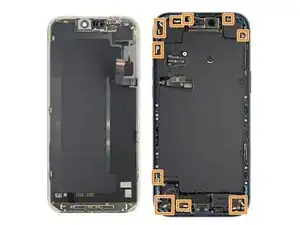
There are delicate spring contacts around the perimeter of the phone.
-
The underside of the screen has thin, metal clips that go into corresponding slots on the frame.
-
-
-
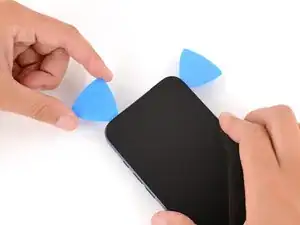
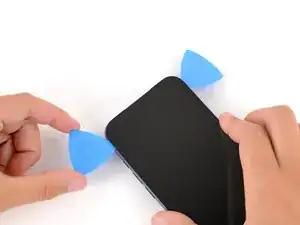
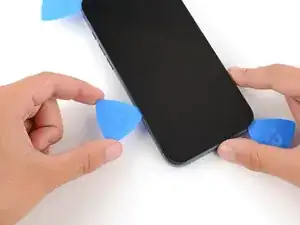
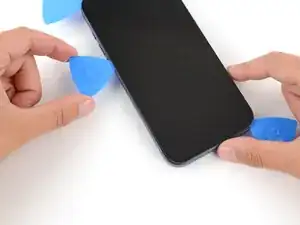
Slide the opening pick along the bottom edge to separate the adhesive.
-
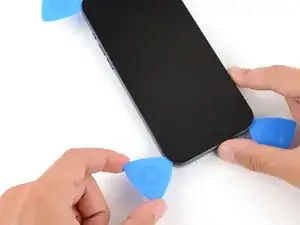
Leave the pick inserted under the bottom right corner to prevent the adhesive from re‑sealing.
-
-
-
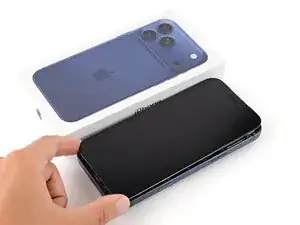
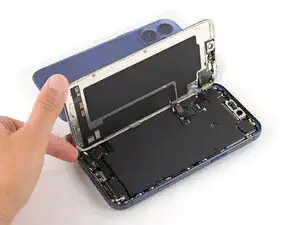
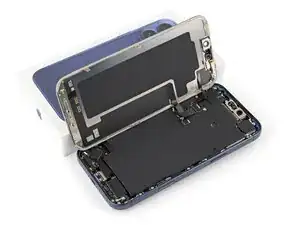
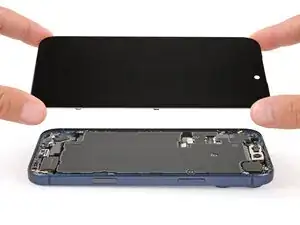
Lift the screen straight up and swing it over the left edge, propping it up against a sturdy box or stack of books so the cables aren't strained.
-
-
-
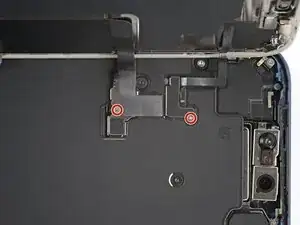
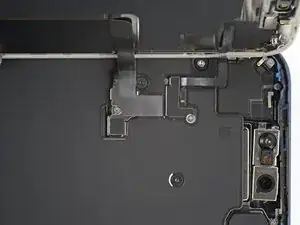
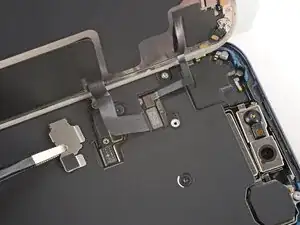
Use a JIS 00 screwdriver to remove the two 1.2 mm‑long screws securing the battery and screen cable covers (one for each cover).
-
-
-
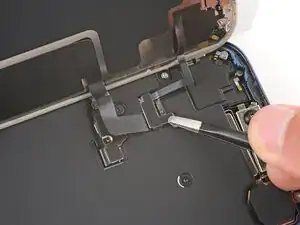
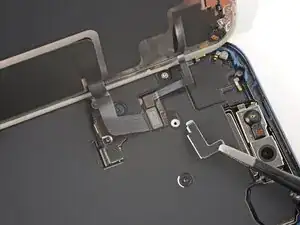
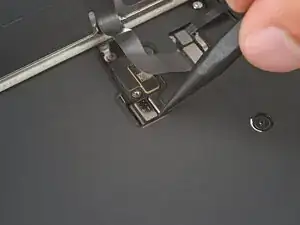
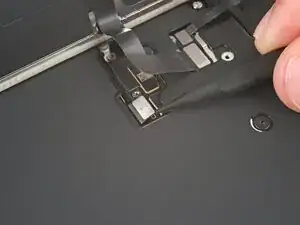
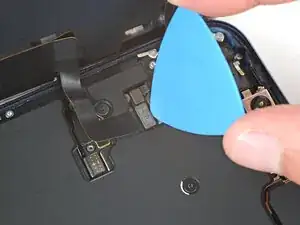
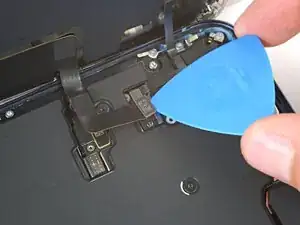
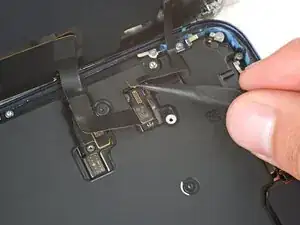
Use the tip of an opening pick or the point of a spudger to pry up and disconnect the screen and ambient light sensor press connectors.
-
-
-
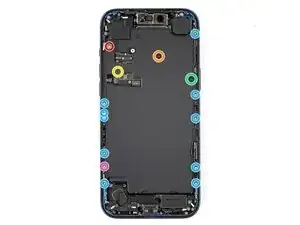
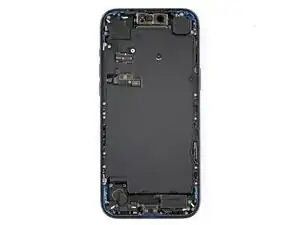
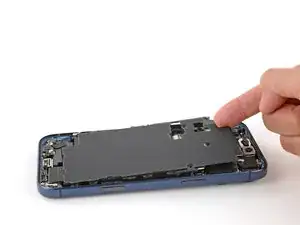
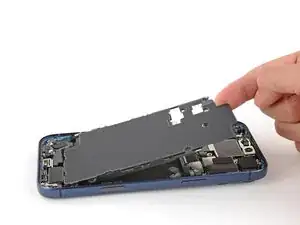
Use a Torx Plus 4IP screwdriver to remove the 15 screws securing the battery tray:
-
One 7.5 mm‑long screw
-
One 5.9 mm‑long screw
-
One 3.5 mm‑long screw
-
One 2.4 mm‑long screw
-
Ten 3.7 mm‑long screws
-
One 3.7 mm‑long screw
-


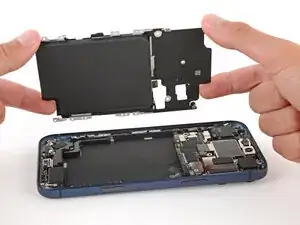
To reassemble your device, follow these instructions in reverse order.
After your repair, run Apple's Repair Assistant. Navigate to Settings → General → About → Parts & Service History, tap Restart & Finish Repair, and follow the onscreen prompts.
Calibrate your newly installed battery after completing this guide.
Take your e-waste to an R2 or e-Stewards certified recycler.
Repair didn’t go as planned? Try some basic troubleshooting, or ask our Answers Community for help.